Not using version 1? Let’s Do a Fresh Install
Prefer video instructions instead? You're in luck! Click the appropriate link below for step-by-step video guides.
Installing PCO Sync V2 (fresh Install)
The plugin is installed—now let’s walk through setup using the PCO Install Assistant. It’ll guide you step-by-step.
Navigate to Admin Tools > Installed Plugins.
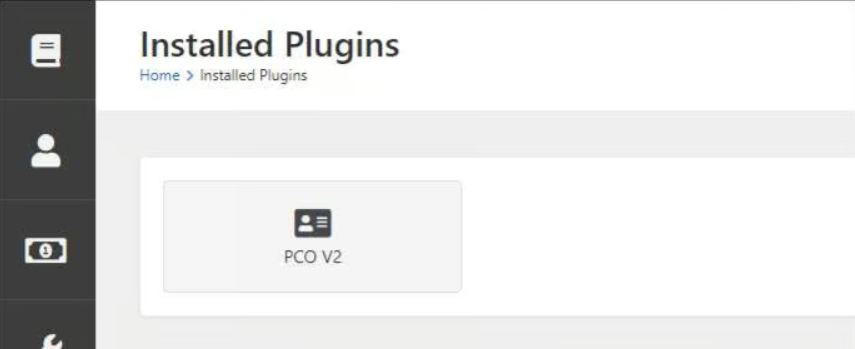
PCO V2 Installed Plugin
Click on the PCO v2 button, then click on the PCO Install Assistant to set up your plugin.

The Install Assistant is your best friend
Step 1: Add Your PCO API Token
You’ll need admin rights in PCO for this step. A helpful link will appear on the screen to take you directly to the right spot:
Planning Center - Login Link
Step 2: Enter Your 9 Embers Account Info
Enter the subscription key and secret we emailed you after you filled out the inquiry form. If you do not have an account, follow the link to the Plugin Support Form and select I need help setting up my PCO Sync 2 subscription. 9 Embers will help you to setup a subscription and provide you with the keys to continue.
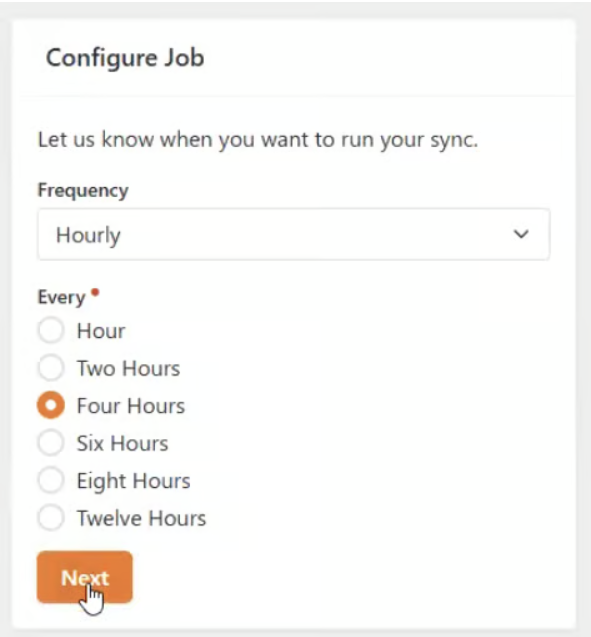
We suggest starting with every 4 hours. You can always change it later.
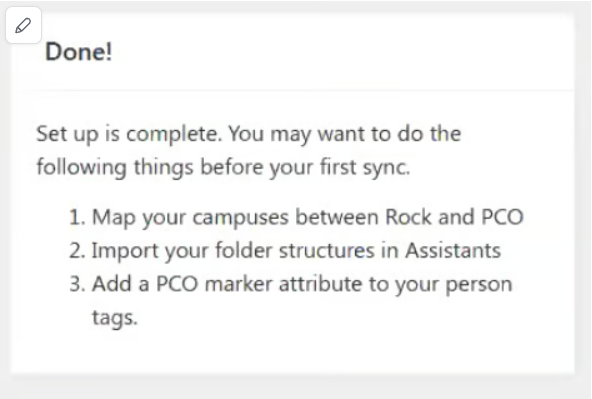
PCO Install Assistant lets you know you are ready for next steps
Before You Run Your First Sync
Let’s talk mapping.
If you have multiple campuses and use them in PCO, mapping those campuses in Rock is a great place to start.
Campus Mapping
- Click Campus Mapping

Campus Mapping in PCO Sync V2
2. For each Rock Campus:
- Set Source to Planning Center
- Choose the matching PCO Campus
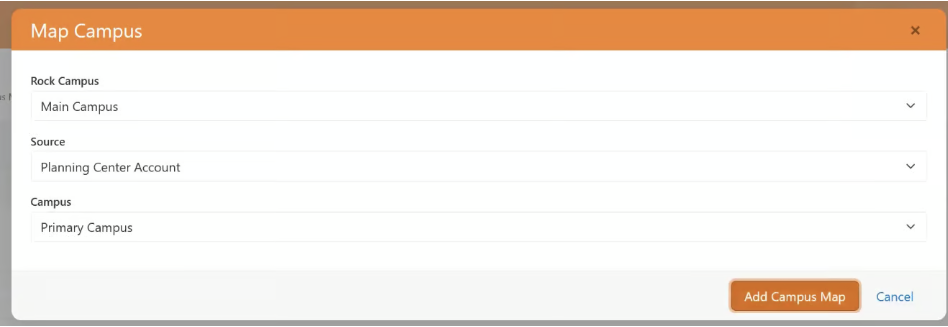
The pop up screen for Campus Mapping
Assistants

Job Configuration Assistant
- Set up your Notification Group—they’ll get alerts if the sync fails or hits a change threshold.
- Set the Stoppage Percent to 0% for now. This lets you review everything before the sync makes changes.
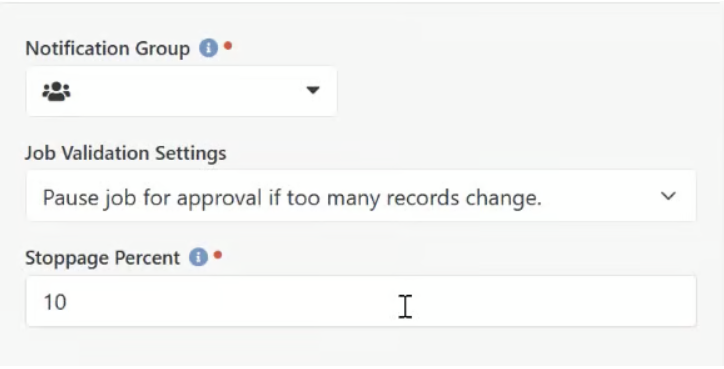
Initially we suggest setting the Stoppage Percent to 0%
Folder and Tag Import

The Folder Import message
Deciding on using the folder and import depends on how you use PCO.
- Don't use tags to assign people to teams? You can skip tag import.
- Do you use folders in PCO? Importing will build out a full structure: a group for every folder, service type, team and position—which could quickly add up.
*Important: 👉 You’ll need at least one of these (tags or folders) to sync with people in PCO. You can import both, but pick whichever best reflects your PCO setup.
Before running any imports, do a bit of setup:
- Under Group Type: Serving Team, add a Group Attribute:
- Name:
PCO Marker - Field Type:
PCOMarker
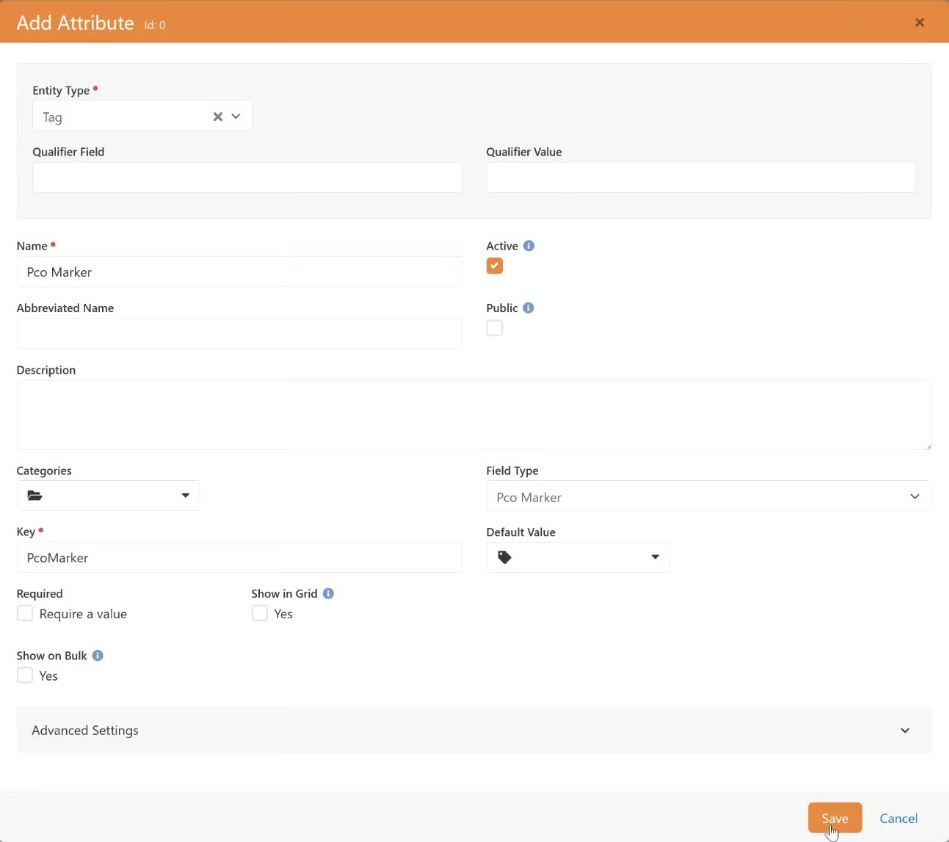
2. Under Entity Attributes, filter for "Tag":
- Add Attribute
- Name:
PCO Marker - Field Type:
PCOMarker
3. Create a Parent Group (e.g., “PCO Teams”) of type Serving Teams where all imported groups will live.
Folder Import
Head back to the Install Assistant and select Folder Import.
Depending on the number of teams in your PCO structure, this may take some time. A progress counter will keep you updated. After it finishes, check the imported folder structure to verify.
Tags will import with a prefix like: PCO/Folder Name/Group Name/Tag Name
Other Things to Know
- Version Information shows what plugin you're running
- Manage Accounts lets you view your PCO account info and additional settings.
Your First Sync
The sync job is called PCO V2 Sync. After it runs, open the Sync History.
If you set your Stopping Percentage to 0%, you’ll see the status Awaiting Review. Click on the line to see the pending changes.
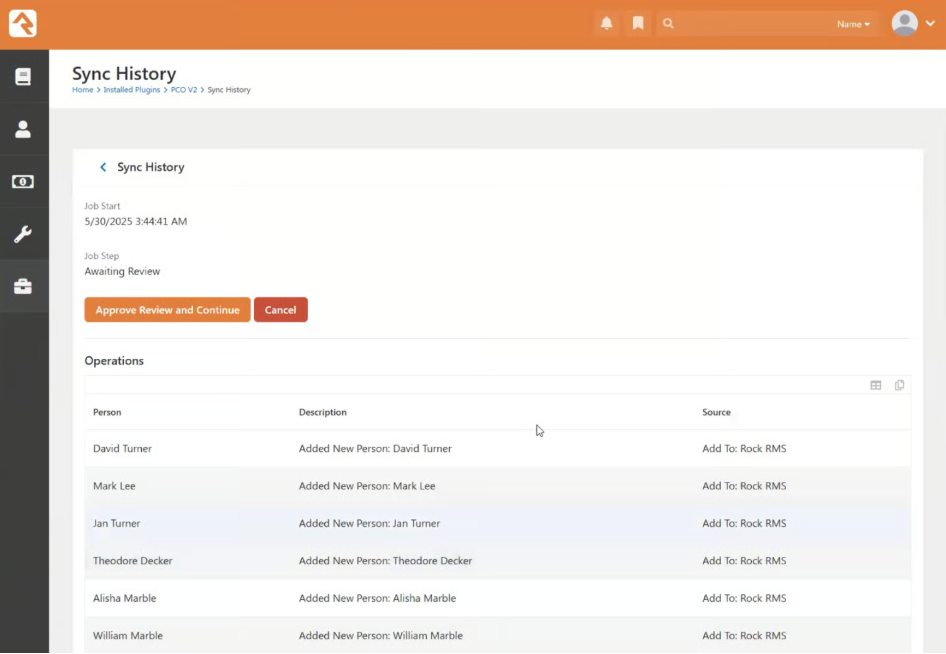
Reviewing a Sync History waiting for Approval
You’ll see what the sync wants to do—nothing changes until you approve it.
- "Adding a new person" usually just means assigning them to a group or tag—not creating a duplicate. Rock will try to match the person after approval.
After reviewing:
- Click Approve
- Refresh Sync History to check for errors
- Errors appear below the operations and help you identity missing or invalid data
After a few syncs, things should settle down. If something doesn’t look right, you can:
- Cancel the job
- Make updates in Rock or PCO
- Run the sync again
Once everything’s set, you’ll start seeing people land in the right groups if you imported folders. If things are running smoothly, feel free to adjust the stoppage percentage in the job configuration to let the sync process changes automatically.