Overview
The Service Reservation plugin provides a way for people to sign up for a specific campus, venue, and service each weekend and a way to limit the number of signups for each of those locations. Visitors can select a service that they would like to attend, and the number of people attending with them. If there are still enough available spots, they'll be able to make a reservation and then will receive a confirmation email that includes the details of that reservation. Their confirmation will also include a QR code that can optionally be scanned when they arrive to validate their reservation and to record their arrival. They can also cancel their reservation if necessary.
Setup
After installing the plugin from the Rock Shop, you will want to go over to the AdminTools > Installed Plugins area.
Installed Service Reservation
You will see two new options, “Service Reservation” and “ServiceReservation Summary”. The Service Reservations option is what your visitors will use to reserve spots for a service. The Summary option is used for you to view the summary and details of who has reserved spots foreach service. Before using these options though, you’ll first need to configure your locations.Go to General Settings > Named Locations. When you edit a location, you’ll notice a new “Schedules” field and a new “Reservation Instructions” field.
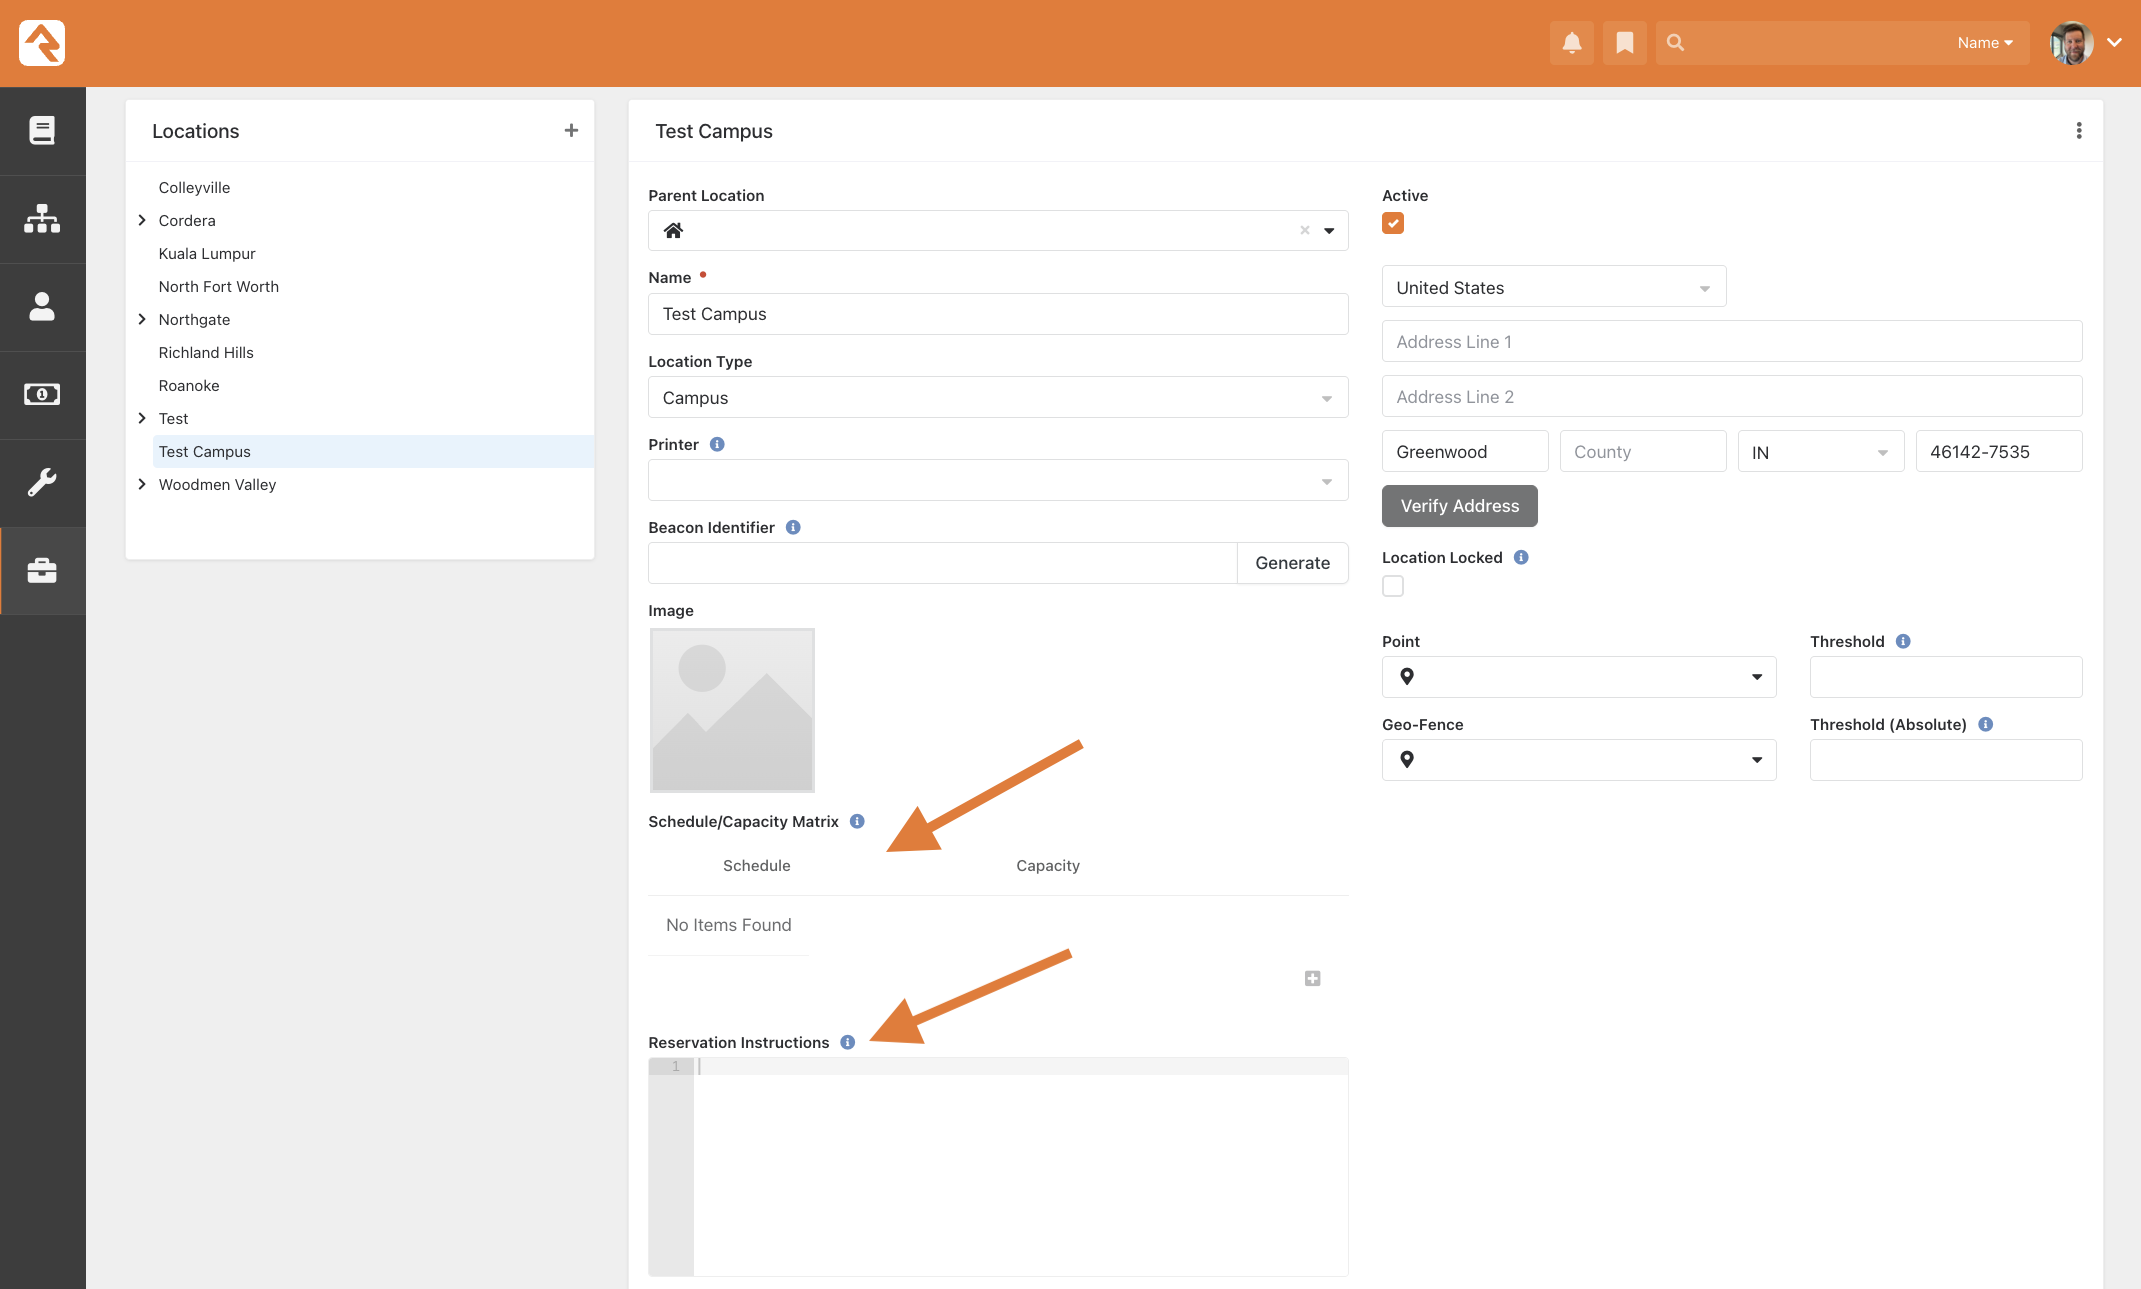
New fields in Campus settings
In addition to these two new fields, you’ll also want to make sure some other fields are configured for each of your campus locations:
- Name: Each campus (and venue) needs a name.
- Image: The plugin will display any location image you add to a campus (and venue), so make sure that you have images for each of these locations.
- Threshold (Absolute): This is the maximum number of spots that visitors will be able to reserve for this location at any service time. If you leave this field blank, there will not be any restriction on how many reservations can be made for that location.
- Schedules: Use this field to configure the service times that can be reserved for that location.
- Reservation Instructions: This field can be used to add location-specific instructions that will be provided to your visitors when they reserve spots at this location. An example of this might be, “Walk in5/4/2022 4 9 Embers through main lobby, make a right and enter through the first door on left”. These instructions will show on the confirmation email when the person has completed their reservation for this location.
Note: The Service Reservation plugin can support multiple venue sat each campus. If you have more than one venue at one or more of your campuses, you will want to add your schedules, instructions, and thresholds to the “venue” locations directly underneath the campus location. You would still want to include images for both the campus and venue locations though.
Usage
Once you have updated your locations, you can start using theService Reservation functionality. Go to Admin Tools > InstalledPlugins > Service Reservations. You will notice that it first displays a modal popup with some important information and then lets the visitor select a campus, date, venue, and service that they wish to attend.
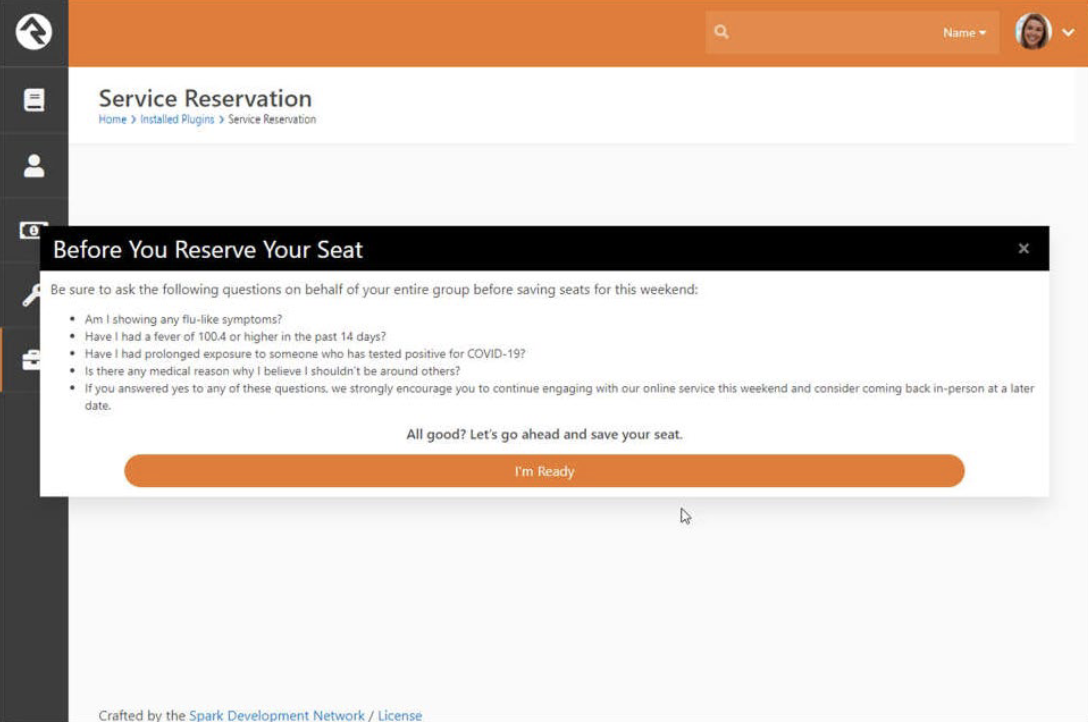
Internal View of Service Reservations
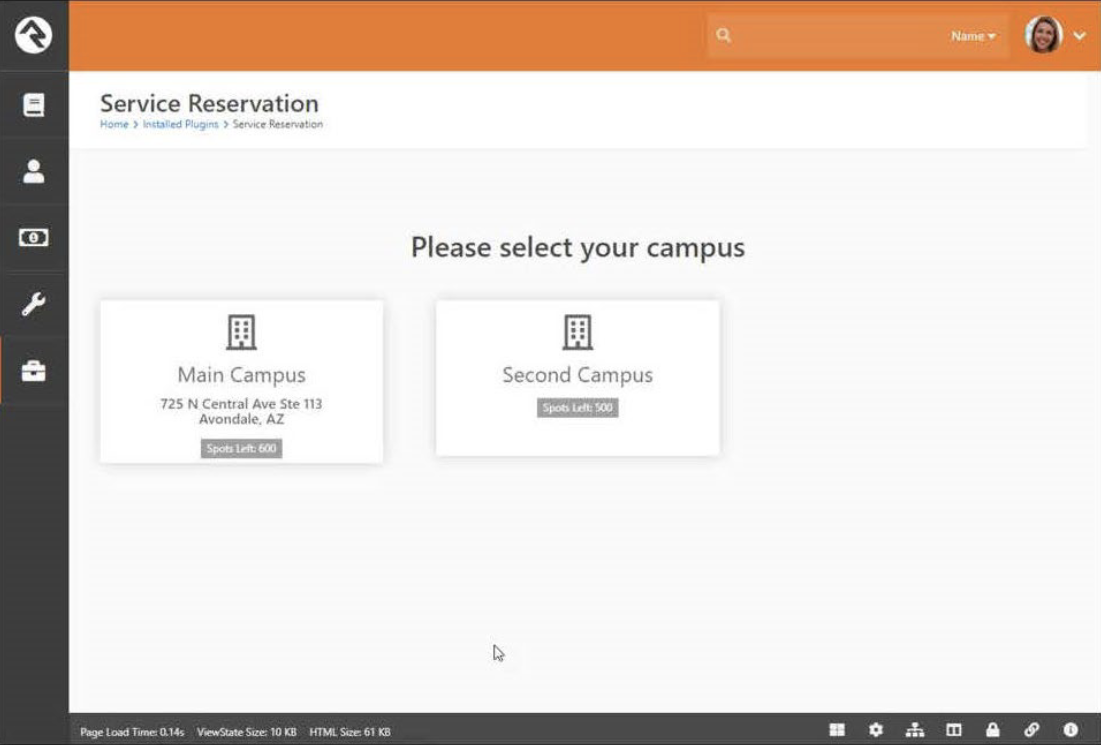
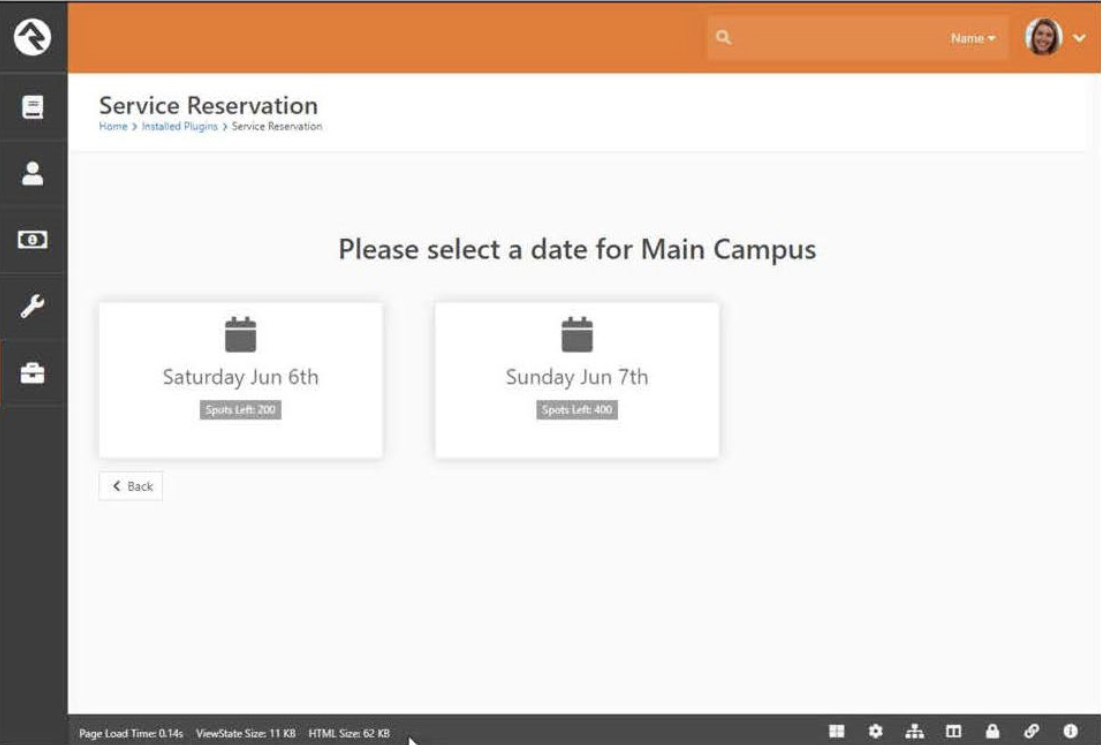
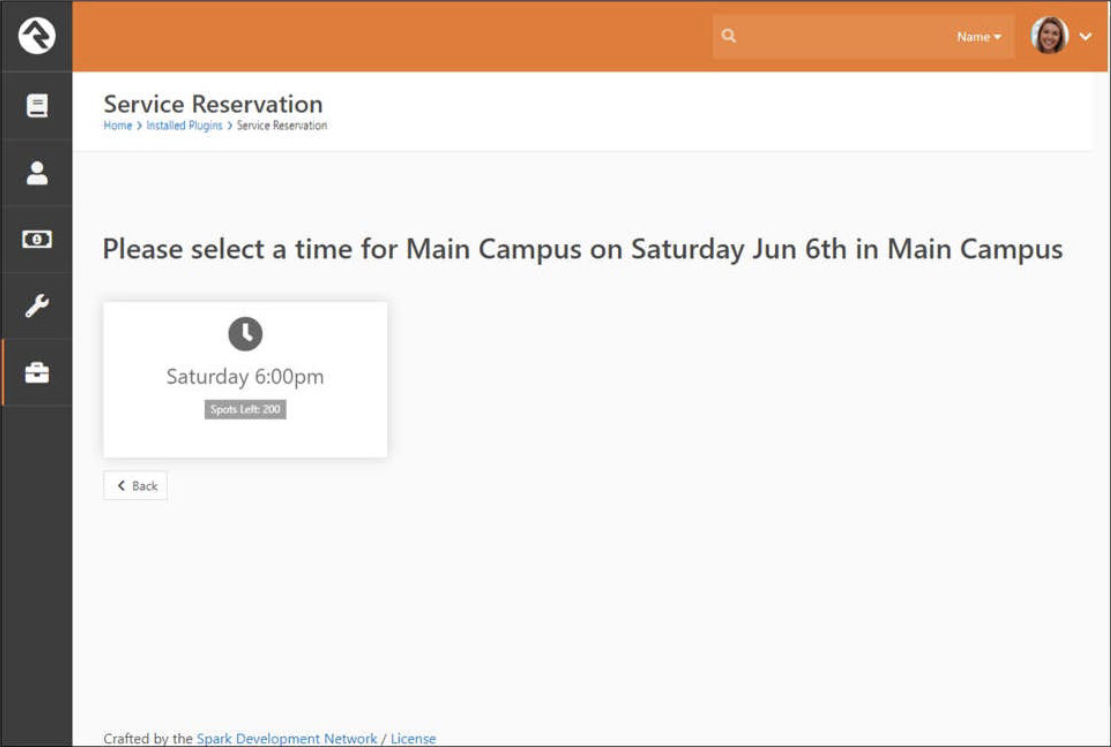
If there is only one option for campus, date, or venue, that option will be selected automatically and your visitors will not have to make that selection.
Be sure to check-out the block settings available on this block. There are settings for controlling just about every aspect of how these options are presented to the user.
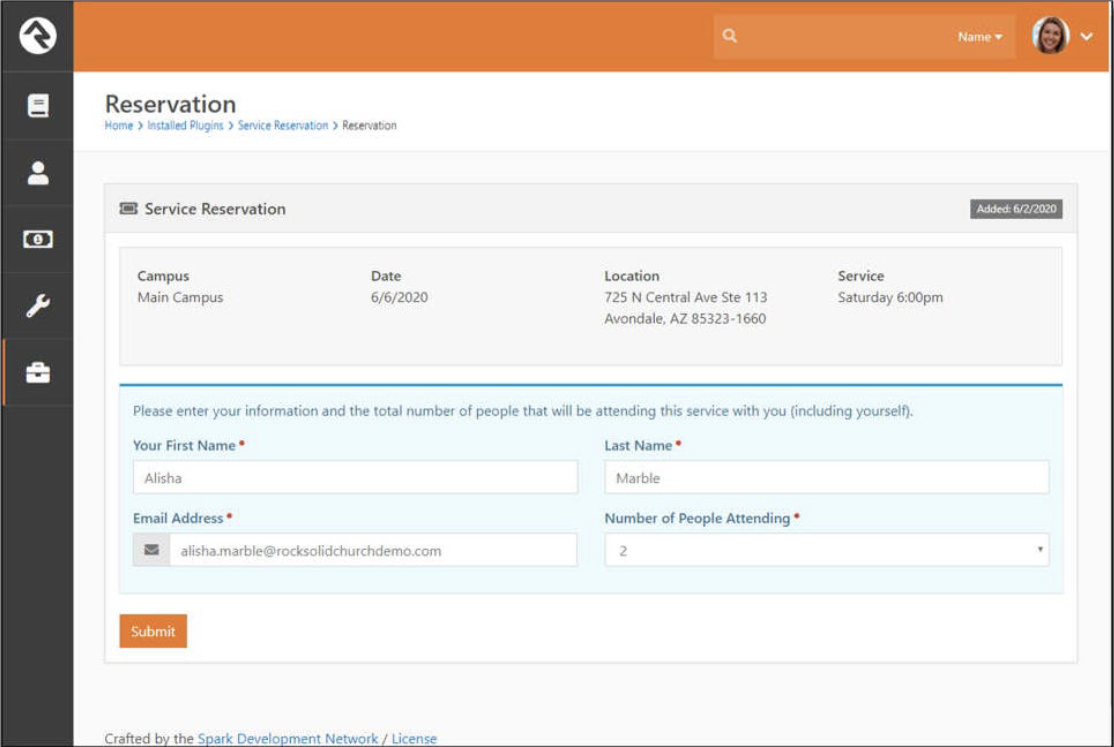
Once the user selects their options, the block will then redirect them to anew workflow entry page that uses a new Service Reservation workflow to prompt for their name, email, and how many people are attending.
Once they fill out this information, they will receive an email that contains their details along with a QR code.
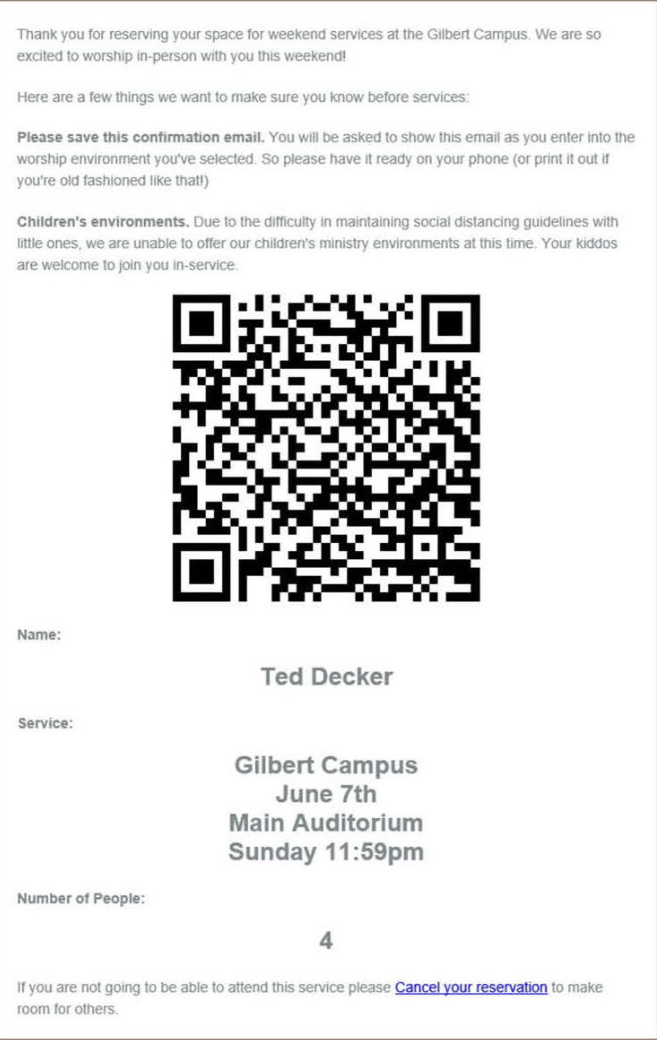
They will need to bring this email (hardcopy or digital) when they attend the selected service. You will then be able to confirm their reservation by5/4/2022 9 9 Embers reviewing the email or by scanning the QR code. When you scan the QR code, another workflow is initiated that will display the reservation details and flag a reservation that is not for the current day or that has already checked in.
If you decide you want to scan QR codes when people arrive for the service, you can use an iPhone’s camera or the QR Scanner option from the iPhone’s control panel (you may need to configure control panel to add that option). While both of these options work, they don’t really provide an easy way to go back and forth between scanning the codes and the browser page that is initiated from the scan. We’ve found that using the free QR Reader app from the Apple App Store makes it easier to scan, check someone in, and then easily return to the scanner again.
Workflows
This plugin creates three new workflows:1. The “Service Reservation” workflow is what is initiated by theService Reservation page to capture the visitor’s information and to send them the confirmation email.
- The “Service Reservation” workflow is what is initiated by theService Reservation page to capture the visitor’s information and to send them the confirmation email.
- The “Service Confirmation” workflow is used at the time of the service when optionally scanning the QR code included in the confirmation emails. While you do not need to scan these codes, if you do, this workflow is initiated and will display the details of the person’s reservation, and allow you to check them in.
- The “Service Cancellation” workflow is used if the visitor clicks the“Cancel” link included in their confirmation email. This workflow will confirm if they really want to delete their reservation, and if so, will then delete the reservation workflow instance so that their spots are released.
While these workflow should work form most situations, because they are workflows, you can easily customize their behavior. For example, if you want to match or create a person record using the information the person enters, you can add a new “Person Attribute From Fields” action to the reservation workflow to do this.
External Page
While the Service Reservation page (and it’s three child workflow entry pages) are initially added to the “Installed Plugins” area, you will want to move these pages to your public Rock site. When you do, make sure to confirm that the pages have the correct site/layout values after you move them.
Important: When you move these pages to your public site, they will likely inherit security that allows all users to access each of these pages. This is great except for the “confirmation” workflow entry page. You want to make sure to secure this page to prevent “All Users” from viewing it. If you skip this step anyone can scan their QR code from home to check themselves in.